Thamel, Kathmandu, Nepal
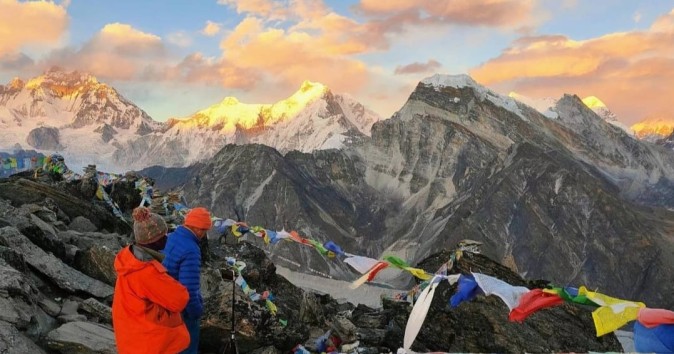
The first time you round a ridge in the Khumbu or the Annapurna and see an 8,000-meter peak fill the sky, something changes. It's the reason thousands of first-timers fly into Kathmandu every year, boots barely broken in, ready to test themselves against the highest mountains on Earth.
But here's the honest truth from someone who has sent hundreds of beginners up these trails: how to prepare for your first Himalayan trek matters more than raw fitness, more than expensive gear, and more than which trek you pick. The trekkers who struggle aren't usually the least athletic ones — they're the ones who didn't prepare properly.
At Orbit Nepal Adventure, we've guided first-timers from six continents up everything from the Ghorepani Poon Hill ridge to Everest Base Camp itself. Our guides live in the villages along these trails, and they've walked routes like the Annapurna Circuit and Manaslu Circuit more times than they can count. This guide distills what we tell every beginner before they land in Kathmandu — no fluff, no generic packing lists copied from somewhere else, just what actually works on the trail.
Whether you're flying in for a short Ghorepani Poon Hill trek or committing to the full Everest Base Camp itinerary, the preparation principles are the same. Get the fundamentals right, and the mountains will do the rest.
A Himalayan trek isn't a walk in a national park back home. You'll be exercising for 5–7 hours a day, sleeping at altitudes over 3,000 meters, and relying on your own gear when a teahouse has no heating and the temperature drops to -10°C overnight.
Poor preparation is the single biggest reason first-timers turn back early. It's rarely the terrain that defeats people — it's blisters from unbroken-in boots, altitude sickness from climbing too fast, or being caught in freezing rain without a proper shell jacket.
The good news: almost every one of these problems is preventable with 6–8 weeks of focused preparation. That's what this guide is built around.
💡 Pro Tip: Preparation isn't just physical. Mental readiness — knowing what to expect each day — reduces anxiety more than any amount of extra gym time.
You don't need to be an athlete, but you do need a functional base of cardiovascular endurance and leg strength. Most of our beginner-friendly routes involve 4–7 hours of walking per day, with cumulative ascents of 600–1,000 meters on the toughest days.
As a rough benchmark, if you can comfortably do the following, you're in reasonable trekking shape:
Age and prior hiking experience matter less than you'd think. We've guided fit 65-year-olds to Annapurna Base Camp and had unfit 25-year-olds struggle on Poon Hill. Consistent training beats sporadic intensity every time.
Start training at least six weeks before departure — eight is better if your current fitness is low. The plan below assumes 4–5 training sessions per week.
🏔️ Local Insight: Nepali porters don't train in gyms — they train by carrying loads on real hills. If you have access to any incline at all, prioritize hill walking over flat treadmill miles.
Good gear doesn't need to be the most expensive on the market, but it does need to be functional, layered, and tested before you fly. Below is a full breakdown by category.
🎒 Packing Tip: Pack your duffel with the heaviest items closest to your back-carrying porter's spine (i.e., centered), and always keep essentials — down jacket, first-aid, headlamp — in your daypack in case bags get separated.
| Category | Item | Priority |
|---|---|---|
| Clothing | Down jacket | Essential |
| Clothing | Waterproof shell jacket & pants | Essential |
| Clothing | Base layers (thermal) | Essential |
| Clothing | Trekking socks (wool) | Essential |
| Footwear | Broken-in trekking boots | Essential |
| Footwear | Camp shoes | Recommended |
| Sleeping | 4-season sleeping bag | Essential |
| Sleeping | Sleeping bag liner | Recommended |
| Accessories | Trekking poles | Highly recommended |
| Accessories | Headlamp + batteries | Essential |
| Accessories | Water purification tablets | Essential |
| Electronics | Power bank | Essential |
| First-aid | Diamox (if prescribed) | Essential for high altitude |
| First-aid | Blister plasters | Essential |
Altitude sickness — medically known as Acute Mountain Sickness (AMS) — can affect anyone, regardless of age or fitness level, once you climb above roughly 2,500–3,000 meters. Understanding it is one of the most important parts of preparing for a Himalayan trek.
Proper itineraries build in dedicated acclimatization days — typically at Namche Bazaar (3,440m) on the Everest route and around Manang (3,540m) on the Annapurna Circuit. Use these days for a short, higher altitude walk before returning to sleep lower, not for resting in bed all day.
Mild symptoms can often be managed by resting a day at the same altitude. But if symptoms worsen, or you experience any sign of severe AMS, HAPE, or HACE (fluid in the lungs or brain), immediate descent is the only reliable treatment — no summit or itinerary is worth the risk.
⚠️ Safety Reminder: Never continue ascending with worsening AMS symptoms. Descending even 300–500 meters can bring rapid relief. Our guides are trained to recognize AMS early and will always prioritize your safety over the itinerary. For detailed medical guidance, the World Health Organization's travel health guidelines are a useful reference before you travel.
Not every Himalayan trek suits a first-timer. Here's how our most popular beginner routes compare.
| Trek | Duration | Max Altitude | Difficulty | Best For |
|---|---|---|---|---|
| Madri HImal Trek | 5–6 days | 4,500m (High Camp) | Easy–Moderate | Beginners seeking a short, less-crowded trek |
| Ghorepani Poon Hill Trek | 4–5 days | 3,210m (Poon Hill) | Easy | First-timers wanting mountain views without high-altitude risk |
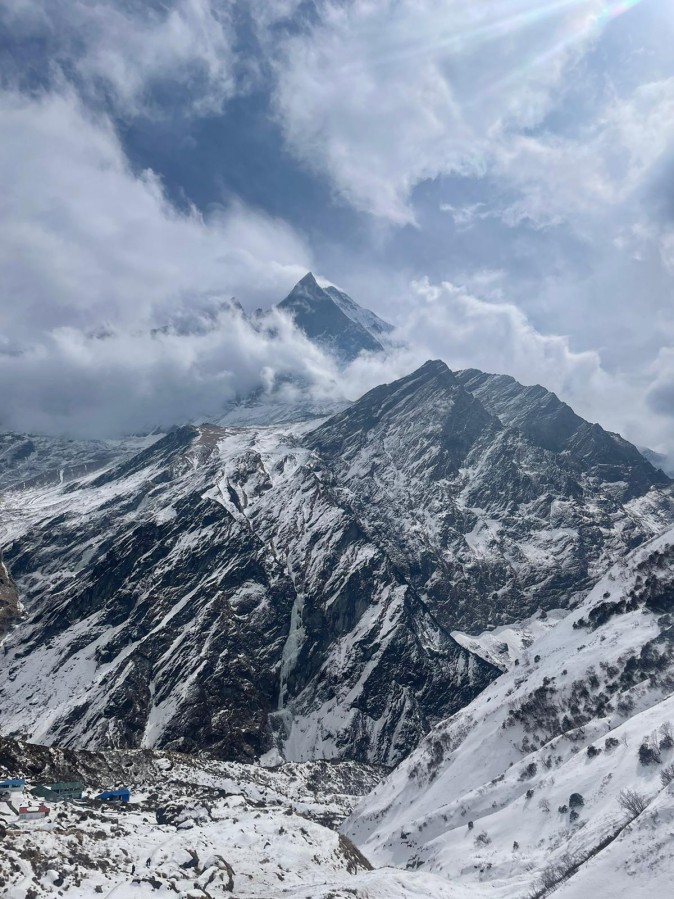
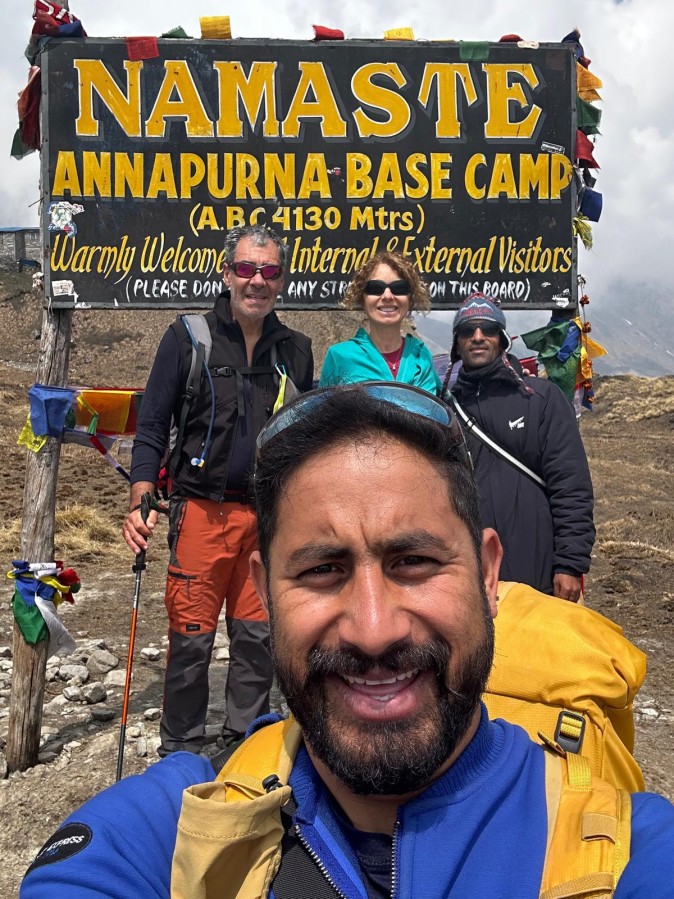
| Annapurna Base Camp Trek | 7–10 days | 4,130m | Moderate | Fit beginners wanting a full base-camp experience |
| Langtang Valley Trek | 7–8 days | 3,870m | Moderate | Travelers wanting culture and scenery close to Kathmandu |
| Everest Base Camp Trek | 12–14 days | 5,364m | Moderate–Challenging | Well-prepared beginners ready for a bucket-list trek |
| Manaslu Circuit Trek | 14–16 days | 5,106m (Larke Pass) | Challenging | Experienced or very well-prepared first-timers |
If this is truly your first trek, we generally recommend starting with Ghorepani Poon Hill or Mardi Himal, then building up to Everest Base Camp or Annapurna Base Camp on a future trip — though many well-prepared beginners do complete EBC as their very first trek with the right training and pacing.
A few practical notes on each option:
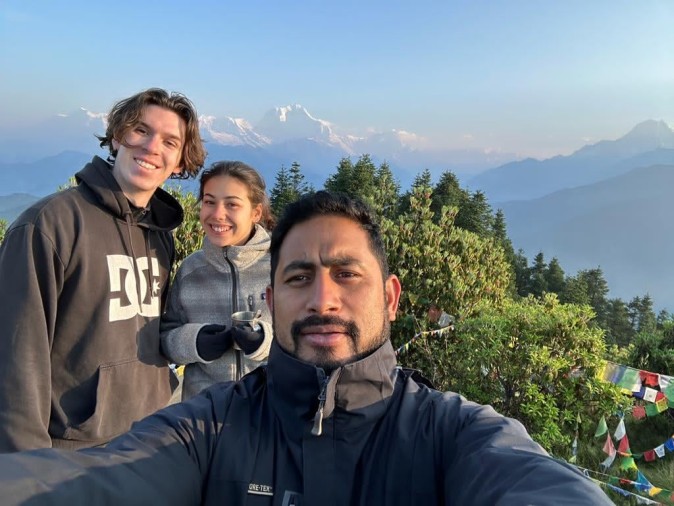
Ghorepani Poon Hill stays below 3,300m throughout, which keeps altitude risk low while still delivering a sunrise panorama of Dhaulagiri and Annapurna from the Poon Hill viewpoint.
Mardi Himal climbs higher to its High Camp but on a shorter, quieter trail than the main Annapurna routes.
The Langtang Valley Trek is the closest major trekking region to Kathmandu, making it a good choice if your travel time is limited.
Annapurna Base Camp and Everest Base Camp both involve sustained multi-day ascents above 3,500m, so they reward trekkers who've actually followed a structured training plan rather than winging it.
💡 Pro Tip: If you're unsure which trek fits your fitness and timeline, talk to your operator before booking. A good local team will steer you toward the right trek rather than the most expensive one.
Nepal has two prime trekking seasons:
Winter (December–February) offers quieter trails and clear skies at lower elevations but brings serious cold and snow at high passes. Summer/monsoon (June–August) brings rain, leeches at lower elevations, and obscured mountain views, though it's a good window for rain-shadow regions like Upper Mustang.
Teahouses along all major routes serve hearty, carbohydrate-rich meals — expect dal bhat (lentils, rice, and vegetables), noodle soups, potato dishes, and porridge. Dal bhat is a trekker favorite because it's often served with unlimited refills, giving you the calories you'll burn on the trail.
Meal times on the trail follow a predictable rhythm: a hot breakfast before departure, a stop for lunch mid-trek (often at a teahouse along the route), and dinner after you've settled into your overnight stop. Prices rise the higher you climb, since everything is carried in by porter or yak, so budget a bit more for food above 3,500m than you would at lower elevations.
Most routes require a TIMS card (Trekkers' Information Management System) and a specific national park or conservation area permit — for example, the Sagarmatha National Park permit for Everest region treks, or the ACAP permit for the Annapurna region. Restricted areas like Manaslu and Upper Mustang require special permits and, in some cases, a licensed guide by law.
Permits are typically arranged through your trekking agency or directly through the Nepal Tourism Board and Department of Immigration for visa matters. We handle all permit paperwork for our guests as part of every package.
Comprehensive travel insurance is non-negotiable. Make sure your policy explicitly covers:
⚠️ Safety Reminder: Standard travel insurance often excludes trekking above 3,000m or 4,000m. Read the altitude clause carefully before you buy.
Nepal now legally requires a licensed guide for most trekking routes, including Everest Base Camp, Annapurna Base Camp, and Langtang. Beyond the legal requirement, there are practical reasons first-timers benefit from a guide:
Independent trekking is still possible on a small number of routes, but for a first Himalayan trek, a guide dramatically reduces both risk and stress, letting you actually enjoy the experience rather than manage it.
Q.1. Do I need previous trekking experience for my first Himalayan trek?
➔ No. Many of our guests are complete beginners. With proper training and the right trek choice, first-timers succeed regularly.
Q.2. How long should I train before a Himalayan trek?
➔ 6–8 weeks of consistent cardio and strength training is the recommended minimum for most beginner routes.
Q.3. What is the easiest trek for a first-timer in Nepal?
➔ The Ghorepani Poon Hill Trek and Mardi Himal Trek are widely considered the most beginner-friendly options.
Q.4. Is altitude sickness common on beginner treks?
➔ It can occur above 2,500–3,000m even on beginner routes, which is why gradual ascent and hydration are essential regardless of trek difficulty.
Q.5. Do I need travel insurance for trekking in Nepal?
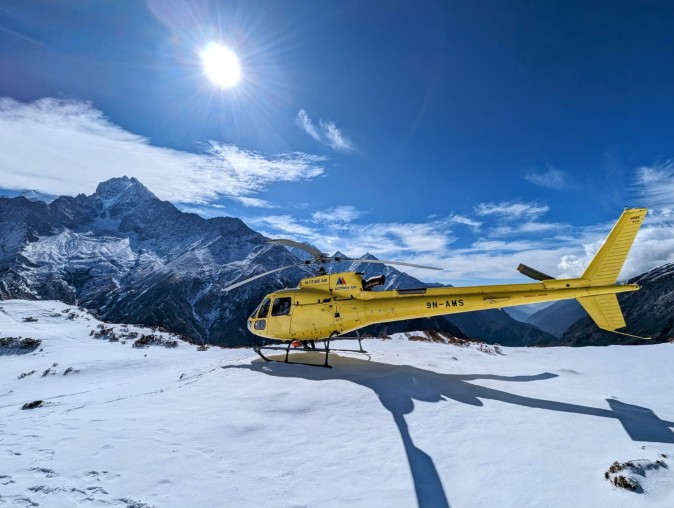
➔ Yes, and it must specifically cover your trek's maximum altitude and emergency helicopter evacuation.
Q.6. What permits do I need to trek in Nepal?
➔ Most routes require a TIMS card plus a national park or conservation area permit; restricted areas require additional special permits.
Q.7. Can I trek in Nepal without a guide?
➔ Nepal now legally requires a licensed guide on most major routes, including Everest Base Camp and Annapurna Base Camp.
Q.8. What's the best season to trek in the Himalayas?
➔ Autumn (late September–November) and spring (March–May) offer the most stable weather and clearest mountain views.
Q.9. How heavy should my trekking backpack be?
➔ Your daypack should weigh 5–8 kg; porter-carried duffels are usually capped at 12–15 kg per guest.
Q.10. What should I do if I get altitude sickness on the trail?
➔ Stop ascending, rest, hydrate, and inform your guide immediately. If symptoms worsen, descend without delay.
Final Preparation Checklist for new trekkers
Preparing for your first Himalayan trek doesn't require years of experience — it requires honest training, the right gear, and respect for altitude. Thousands of first-timers complete life-changing treks in Nepal every season, and with the steps in this guide, you'll be one of them.
Ready for your first or new trek? Contact Orbit Nepal Adventure today for customized itineraries for easier and adventurous trek.
📲 Contact us directly on WhatsApp: Chat with us on WhatsApp
🌐 Visit: orbitnepaladv.com
📧 Email: orbitnepaladv@gmail.com
💬 Whatshapp: 9779841766021
.jpg "Is Everest Base Camp trekking safe?")